Editing your photo slideshow
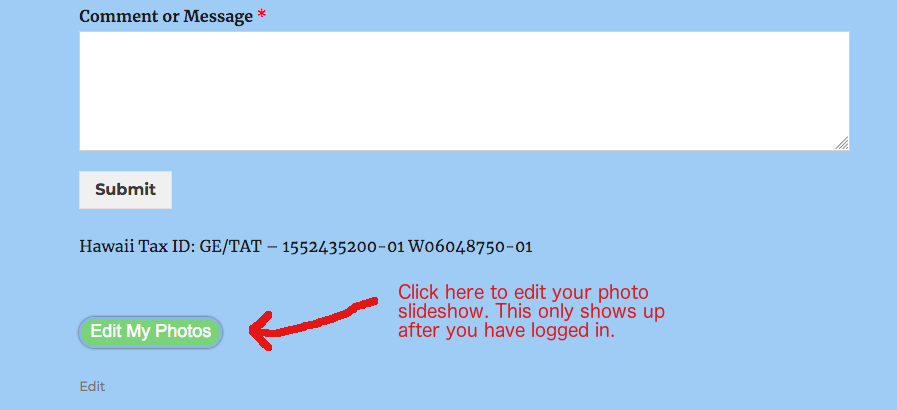
Log in and view your page (not edit, just view). At the bottom of your page click on the green Edit My Photos button. This button only shows up after you have logged in. This will bring you to the MetaSlider screen.
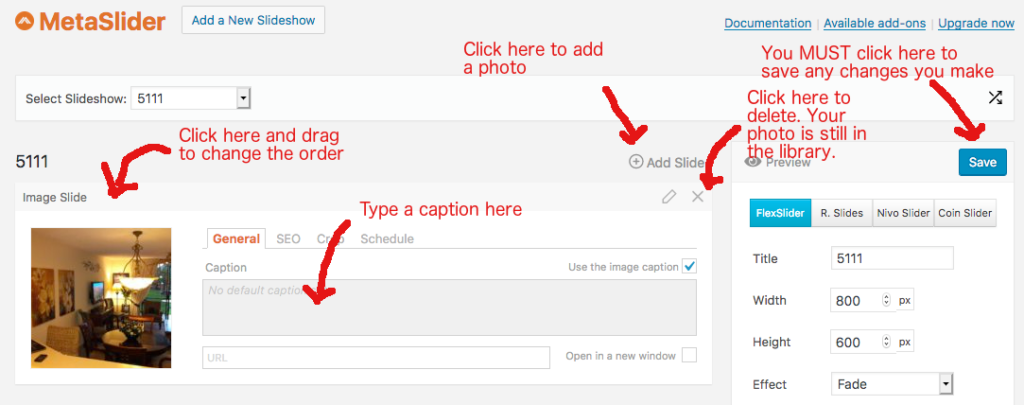
From the MetaSlider screen you can;
- Re-order the photos in the slideshow
- Add optional captions to photos
- Delete a photo from your slideshow. The photo still remains in the media library if you ever want to put it back.
- Add a photo to the slideshow. This will bring you to the Media Library screen.
- When you are done you must click Save to save your changes. Go back to your property page to see the slideshow.
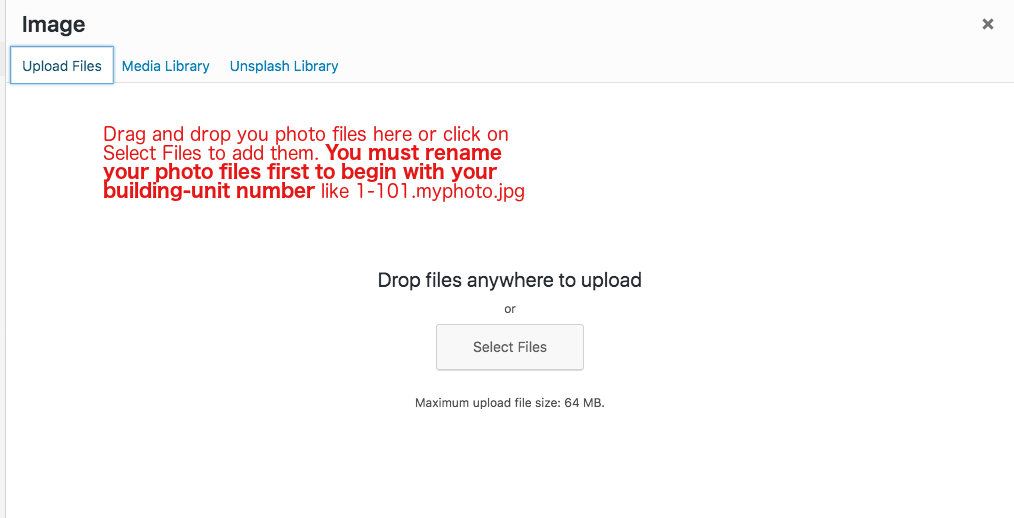
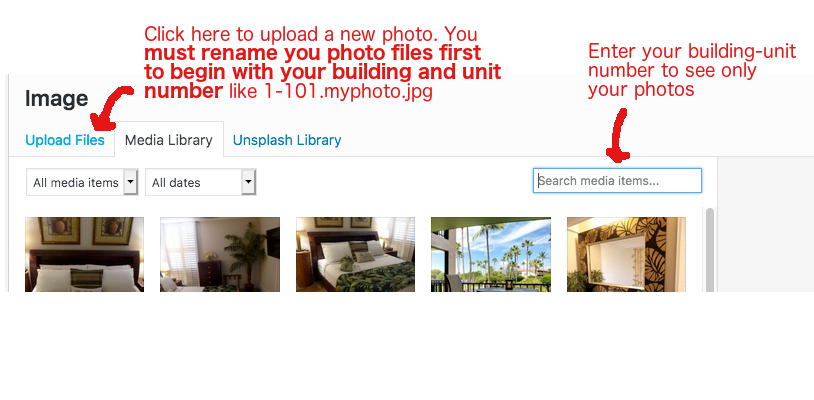
Clicking on Add Slide brings up the Media Library. To upload new photo(s) click on the Upload Files tab. Before you upload any photo files make sure you have re-named the files to begin with your building-unit number. For example if your photo is named myphoto.jpg and your unit is 1-101 you must rename your photo to 1-101.myphoto.jpg BEFORE you upload it.
Once your photos are uploaded and you are back on the Media Library tab enter your building-unit number in the search box to see only your photos. Click on the photo(s) you want to add. Holding shift or control and clicking will let you add more than one.
On the Upload Files tab you can just drag and drop the photo files from your computer to the screen and they will begin to upload. Optionally you can click on the Select Files button and add them that way.
Before you upload any photo files make sure you have re-named the files to begin with your building-unit number. For example if your photo is named myphoto.jpg and your unit is 1-101 you must rename your photo to 1-101.myphoto.jpg BEFORE you upload it.